
A 4-Step Grooming System That Supports Comfort, Health, and Performance
A shiny, healthy coat does not come from sprays, shortcuts, or chemical glosses.
It comes from proper technique, quality tools, and an understanding of how the horse’s body works.
I began working with horses in the 1970s, grooming five to ten horses daily and preparing horses for shows on weekends. Over decades of hands-on experience, I learned that three elements consistently determine how well a horse looks and feels:
- purposeful, effective grooming (“elbow grease”)
- high-quality grooming tools
- correct technique and timing
This guide introduces the HorseHaus 4-Step Grooming System, a natural, efficient approach to grooming that enhances shine while supporting circulation, comfort, and overall wellbeing.
At HorseHaus, we don’t change the grooming process — we refine how it’s applied. The tools are exceptional, but the results come from using them with purpose and intention.
Why Grooming Matters Beyond Appearance
Grooming is often treated as a cosmetic task. In reality, it is one of the most important daily opportunities to assess a horse’s comfort.

During grooming, experienced professionals observe:
- muscle development and symmetry
- areas of sensitivity or tension
- changes in coat quality that reflect circulation and comfort
These observations are not superficial. They are closely connected to saddle fit, bridle pressure, girth comfort, and equipment choice.
At HorseHaus, grooming, tack, and saddles are not separate categories. They are parts of the same system: tools that should support the horse’s body rather than work against it.
What Makes a Horse’s Coat Shine?
Shine is the hair’s ability to reflect light.
To reflect light, each hair must be clean, smooth, healthy, and properly aligned.
During correct grooming, the horse’s natural oils are distributed evenly along the hair shaft. This creates shine without sprays or artificial products.
Coat color plays a role — darker horses tend to show more visible shine, while lighter coats appear subtler — but the underlying principles remain the same.
The HorseHaus 4-Step Grooming System™

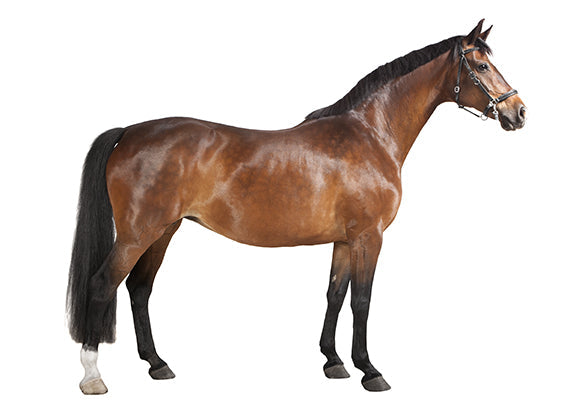
Currying in circular motions from neck to hind end loosens hair and dirt.


This system focuses on the horse’s coat. Mane, tail, hoof, and leg care are addressed separately.
Step 1: Currying
Purpose
Currying stimulates circulation, relaxes the tiny muscles connected to each hair follicle, and brings dirt and debris to the surface of the coat.
Relaxed muscles allow the hair to lie flat — a key factor in natural shine.
Tool
Use a flexible, non-scratching curry made of high-quality rubber or modern synthetic material that does not cause static.
Avoid:
- metal curries
- cheap, brittle plastic
Low-quality curries can create micro-abrasions, strip natural oils, and irritate the skin.
Technique
- Curry in circular motions from the upper neck to the hind end
- Work carefully around joints and bony areas
- Adjust pressure based on the horse’s response
- Knock dirt out of the curry every few strokes
You may be surprised how much dirt comes up, especially in horses living outdoors.
Common Mistakes
Cheap plastic curries (especially the prickly ones) develop razor-sharp micro cracks that can dull the coat and leave the skin prone to irritation. If a curry scratches, pulls, or stiffens with use, it does not belong in your grooming kit.
Step 2: Flicking (Dandy Brush)
Purpose
Flicking removes surfaced dirt and distributes natural oils evenly without binding them to the brush.
Tool
Choose a dandy brush made from natural, plant-based bristles or high-quality synthetic dandy brush that flicks elastically and can sweep dirt from the bottom of the coat to the surface - without creating static.
Avoid coarse synthetic brushes that trap oils and dirt and create static. As the synthetic curry combs, they will develop sharp micro cracks that dull the coat and irritate the skin.
Technique
- Flick in short strokes, always in the direction of hair growth
- Begin behind the poll and work toward the hindquarters
- Think of sweeping with a corn broom — light, elastic motion
After every few strokes:
- Clean the brush on the rubber curry (here, you can also use a firm curry or metal curry!)
- Knock the curry against a hard surface
This prevents reapplying dirt to the coat.
Common Mistakes
Cheap root brushes and synthetic brushes bend over time and lose their ability to flick. Once bristles lean permanently to one side, the brush becomes ineffective and uncomfortable for the horse.
Step 3: Finishing (Brushing the Coat)
Purpose
Finishing removes remaining dirt and dander, smoothens the hair, and distributes oils evenly for visible shine.
Tool
Use a high-quality natural bristle finishing brush, typically made from horsehair or boar bristle. Some brushes include a raised edge for added effectiveness.
Technique
- Use long, even strokes
- Always brush in the direction of hair growth
- Start at the head and work methodically across the body
- Clean the brush frequently on the rubber curry
This is the brush you will use most. With proper care, a good finishing brush will last for many years.
Common Mistakes
Many inexpensive “horsehair” brushes are too soft and loosely packed to be effective. They wear out quickly and require frequent replacement.
Step 4: Bring on the Shine (Gloss)
Purpose
This optional step removes the final dust and smooths the coat for presentation or show grooming.
Tool
- Goat hair brush
- Lambskin or wool polishing mitten
- Felted wool cloth
Avoid synthetic materials, which create static and attract dirt.
Technique
- Use gentle pressure
- Work in the direction of hair growth
- Cover the entire body evenly
This step should feel enjoyable for both horse and rider.
Grooming the Head, Legs, Mane, and Tail
Head
Let the horse determine what feels comfortable. A smaller, softer head and face brush is often best.
Legs
For mud or heavy dirt, use a stiffer coco fiber, union fiber brush or tampico brush.
Mane and Tail
Mane and tail care require a different approach and are covered in a separate guide.
Why Tool Quality Matters
Good horse grooming tools are not a luxury. They:
- protect the coat and skin
- support circulation
- improve the horse’s comfort
- make the rider's life easier and
- (with proper brush care) last for many years
Poor tools do the opposite.
High-quality rubber curries and natural bristle brushes distribute oils without scratching the skin. A complete natural grooming set is the easiest way to have access to all the tools you need to groom your horse.
At HorseHaus, we evaluate grooming tools the same way we evaluate tack and saddles: by materials, construction, longevity, how they contribute to your horse's wellbeing and make your life easier.
Final Thoughts
You do not need sprays, glosses, or shortcuts to groom a horse to shine.
With correct technique, quality tools, and consistency, grooming becomes a rewarding routine that supports both appearance and comfort.
Enjoy your horse — and enjoy the time you spend grooming.
Stefanie Reinhold